A cheap, delicious and easy Vegan celeriac cutlet recipe that can be baked in the oven or cooked in a pan
Hello my beautiful friends!
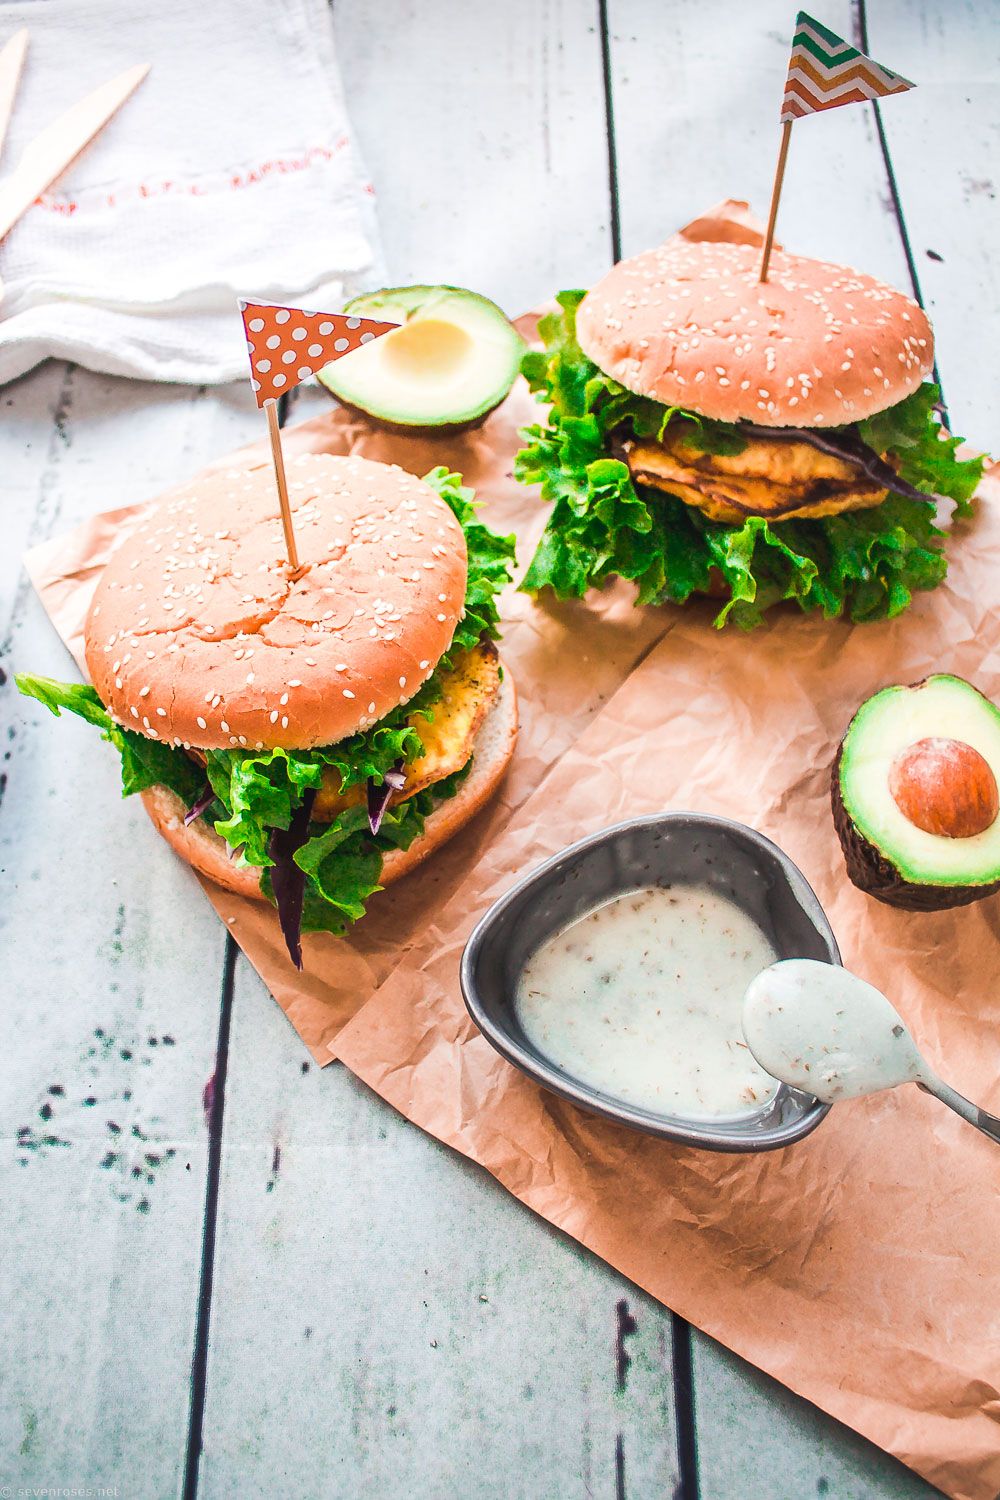
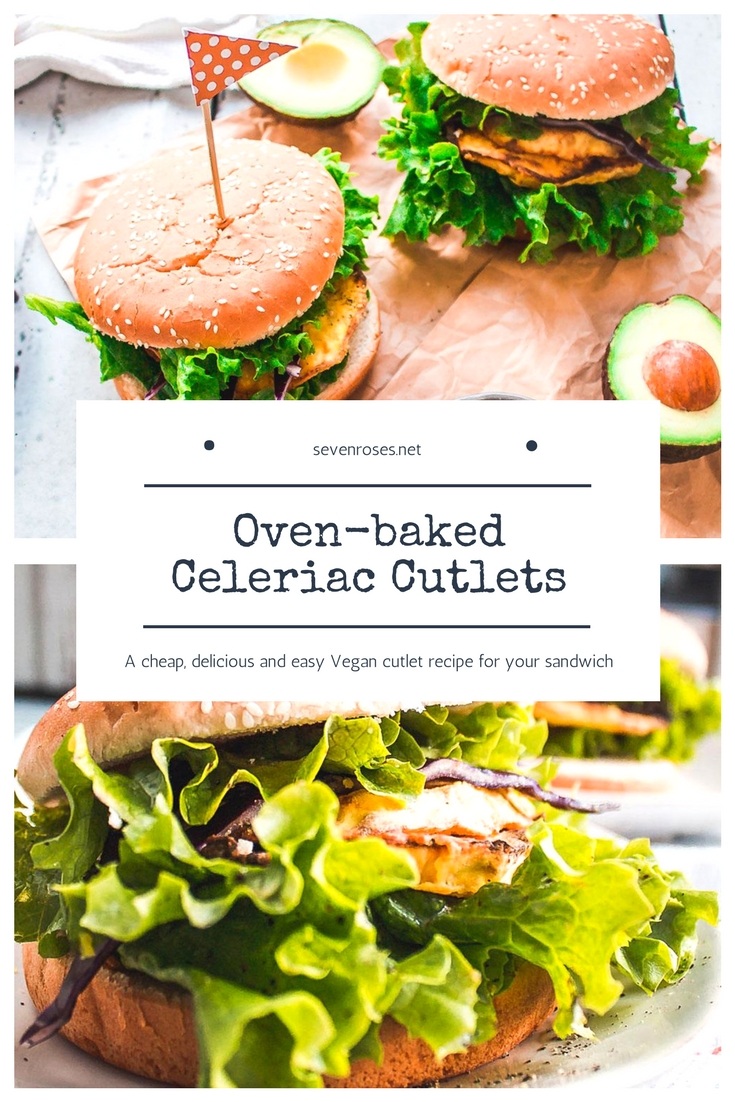
Today I want to share with you a super easy recipe that can become your go-to recipe for burger/sandwich night. These cutlets are so delicious and cheap that I’m sure you’ll love them once you try them.
Celeriac happens to be the ugly duckling of your produce section. Even I never actually fancied it before moving to France. This weird-looking root vegetable costs around 1€/piece and considering they are pretty big and heavy, it’s one of the cheapest vegetables you can get, and you can make so many things of it!
Celeriac has already been the guest star in a post here on SevenRoses that actually went viral last holiday season, have you seen it yet? It’s this way: Vegan Holiday roast – cheap, succulent and festive but apart from that, you can also stew it, mash it or eat it raw in a salw type of dish. On top of that, it has a shelf life of 6/8 months if stored in the fridge, making it a good investment when you find it on sale. But enough talking, lets’s get cooking, shall we?
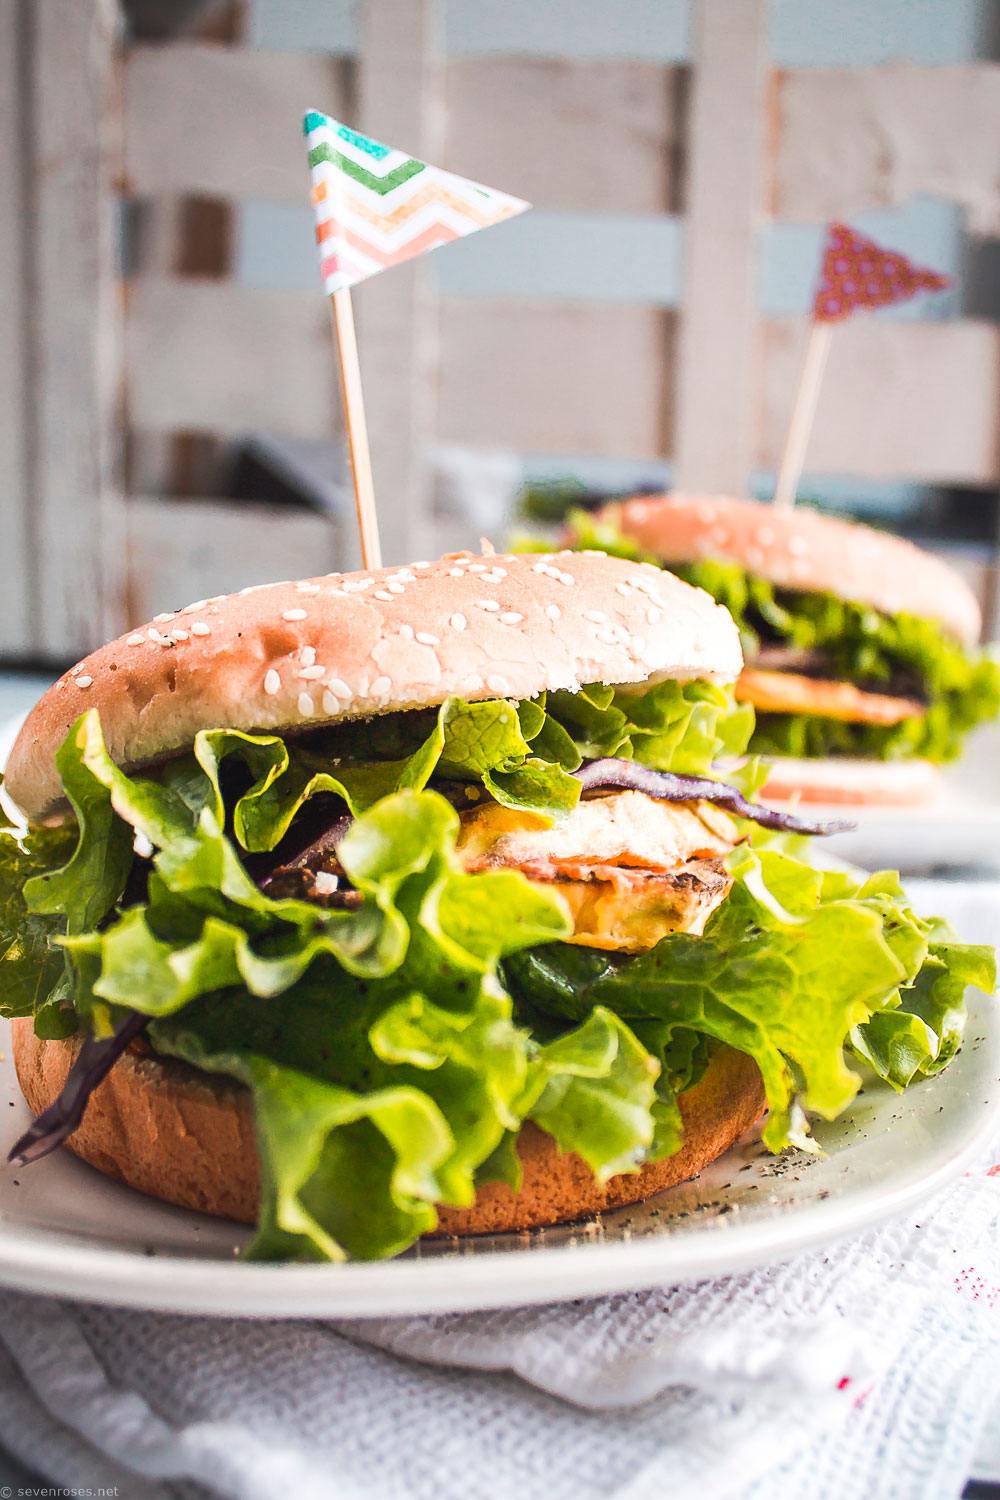
Oven-baked celeriac cutlets (Vegan, no-oil)
Ingredients
- 1 celeriac
- 1 cup all-purpose flour
- 1 tsp turmeric optional
- 1 tsp garlic powder
- 1 pinch salt and pepper
- 1/2 cup plant-based milk soy or rice would work best
Instructions
- First, let's wash and peel the celeriac , then cut it into slices about 5 mm/0.20 in thick. Pre-heat the oven at 200°C/400°F.
- Optionally, at this point you can boil, steam or put the celeriac slices in a microwave for 2 minutes, to shorten the time in the oven, but I prefer not doing it.
- Pour the plant-based milk into a bowl. In a second bowl close-by, add the flour, turmeric, garlic powder and salt & pepper. Mix well. Now dip each slice into the plant-based milk and then into the flour, taking care to press well into the flour to make it adhere to the surface of each slice.
- Now place the battered slices onto a non-stick baking sheet and bake at 200°C/400°F for about 20 minutes. At the 20th minute, switch to the grill function for the last 5 minutes in order to brown the celeriac cutlets. By now, your kitchen will be smelling SO good! The cutlets are ready when they are brown and crunchy on the outside.
- Alternatively, heat a generous amount of extra virgin olive oil in a non-stick pan and cook the battered celeriac slices until the surface becomes crisp. I prefer the no-oil baked version but it's entirely up to you!
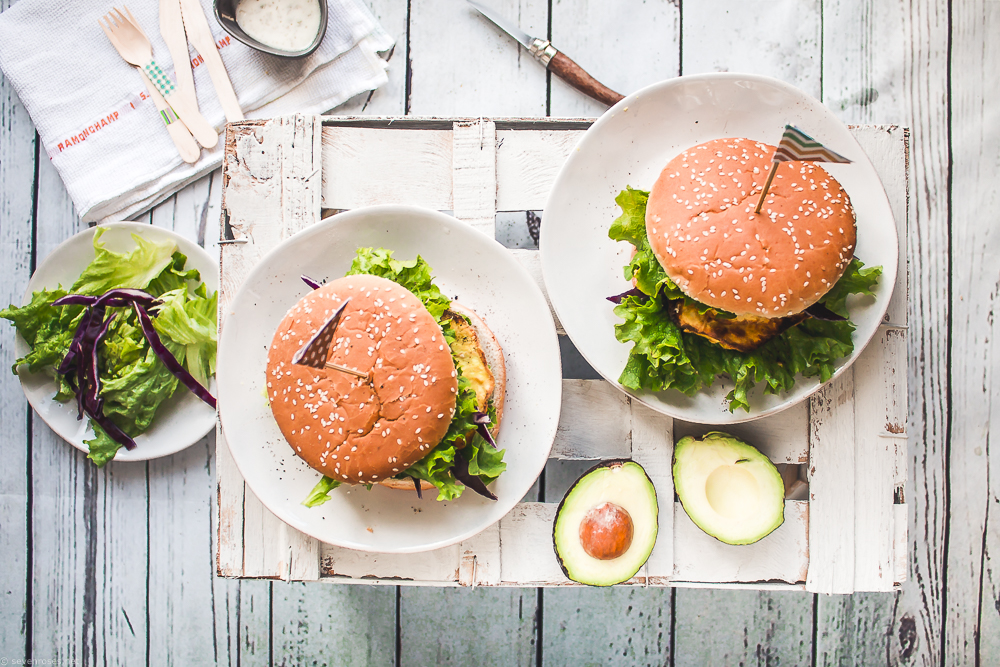
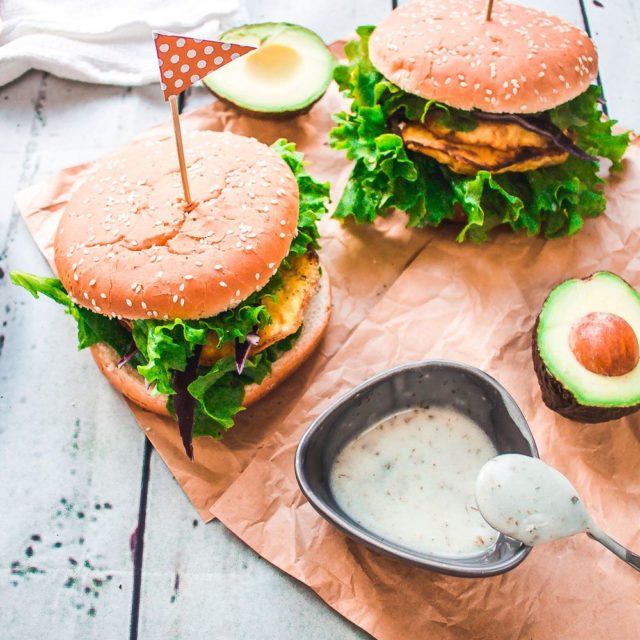
- To assemble the sandwich, cut each bun in half and heat them in the oven. Stuff each sandwich with lettuce leaves, the celeriac cutlets, some slices of tomato, avocado and a handful of raw purple cabbage. Add your favorite sauce and the condiments you prefer, then close the sandwich and eat it while it is still hot!
If you give this Oven-baked celeriac cutlets recipe a try, please let me know in the comments’ section below!
You can also find me on social media. Be sure to tag @francesca_sevenroses on Instagram or @sevenrosesblog on Twitter and Facebook, and use #sevenroses so I’m sure to see it.
And don’t forget to pin this recipe to spread the love ♥
I wish you a love-filled day!
 10% goes to an Animal Charity of your choice!


I’ve never even heard of Celeriac?! I wonder if we have that here in the US? Maybe? I’ll have to keep an eye out, because I’d loveee to try this. <3
Hey Jen thank for stopping by and commenting :) Even though it originated in the Mediterranean area, I believe celeriac is available in North America, too. Perhaps you know it under the names of turnip-rooted celery, celery root, or knob celery? Just look-out for the ugliest root vegetable in the produce section :D
Honestly, never thought to use celeriac this way and I have seriously exhausted (and to some extent) grown bored of the common vegan burgers you see out there. Thanks!
This looks delicious. And your pictures are amazing! I could use a few of your tips. :-)